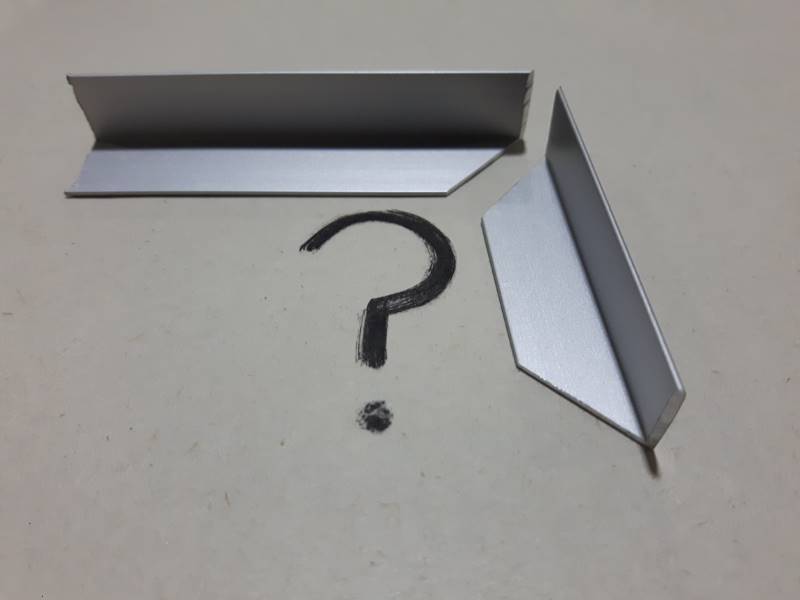
Aluminum angle is such a good material for projects. It’s durable and easy to work with. You can use it for framing, or just cut it up into little pieces and drill it for brackets or supports.
So what’s the best way to cut it?
The best way to cut aluminum angle is with a miter saw that has a carbide tipped blade for nonferrous metal.
That said, there are still a few tips and tricks, safety notes, and some tools that are better than others that we can go over.
Might as well get it right the first time, right?
Table of Contents
How to Cut Aluminum Angle with a Miter Saw
Before digging in let’s make one thing clear: you really don’t have to overthink this.
Aluminum angle is pretty easy to work with. Just use common sense.
If it doesn’t feel safe, it probably isn’t. If it does feel safe, grievous injuries hurt less when you don’t see them coming.
Just kidding. (sort of)
What Kind of Blade to Use
For starters, you want to make sure you have a decent blade.
To cut aluminum, you definitely want to use a carbide tipped blade. If you don’t, the aluminum will gum up, get jammed, and ruin your day.
There are some non-carbide blades out there that say they’re supposed to be for metal, but I just haven’t had that great of success with them. I’m pretty sure they’re more designed for those low-speed battery operated saws instead of something with actual power.
They wear out quickly, and the cuts are just plain ugly.
If you’re only doing a few quick cuts, then a regular carbide tipped blade should get you through it. If you’re doing a bit more, then consider getting a specialized blade for nonferrous metals. It’ll work for brass, copper, aluminum, etc, so it’s worth having in your toolbox.
The main differences for these blades:
- The carbide is cemented on a bit better to reduce the chance of a tooth breaking loose and hurting someone. Cutting metal has a lot more shock and vibration than wood, so it’s a worthwhile feature.
- The carbide is generally a higher grade so it doesn’t chip as much.
- There are more teeth packed on to the blade. It actually looks more like a finishing blade. This means less burrs and cleaner cuts.
Personally, I’ve had good success with the Diablo from Freud. They have a few extra features that will help absorb the extra shock you get when cutting metal.
If you want to check them out, this one is the 7-1/4″ blade and this one is the 10″ blade.
How to Hold the Aluminum Angle
If you’re doing straight cuts (like with the angles all set to zero) then you should be just fine holding the aluminum with your hand. Just keep it nice and firm and avoid cutting off your thumb. No need to make opening a door any more challenging than it already is.
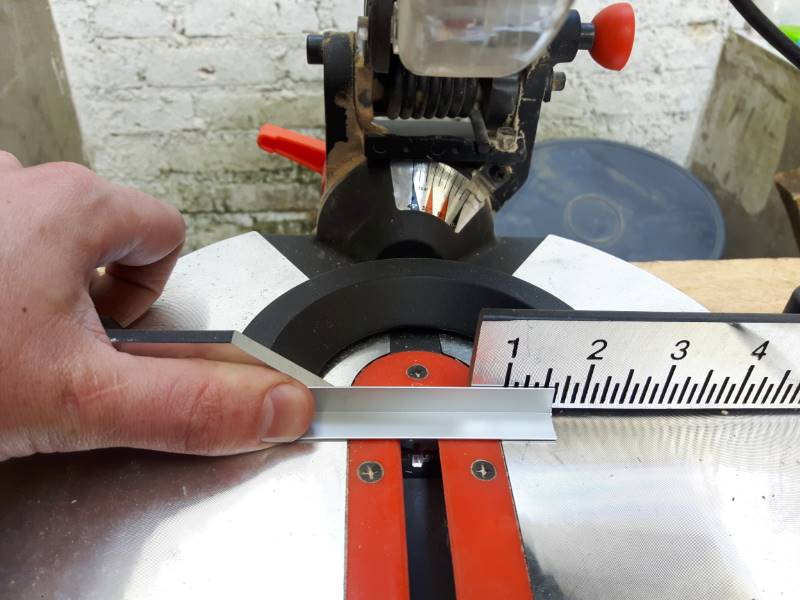
If you’re nervous, just use a clamp to keep it steady. You can use the hold-down clamps that probably came with your saw (if you still have them) or just use a c-clamp to keep it firm against the fence.
If it’s small stuff, then you can use a block of wood to make it easier to clamp. Behold, an example:

If you want to keep the aluminum all pretty, run some tape along any surfaces that contact the metal to avoid scratching.
For mitered/beveled/compound angle cuts, clamping is a good idea. The reason being that it can be a little cramped for hand space with the blade tilted every which way.
That, plus the aluminum will push/pull depending on your angle. Clamping will give you cleaner, straighter cuts and help prevent grievous injury.
Don’t do it with both edges down like an inverted V (shown below) if you’re working either with small stuff or needing to cut angles.
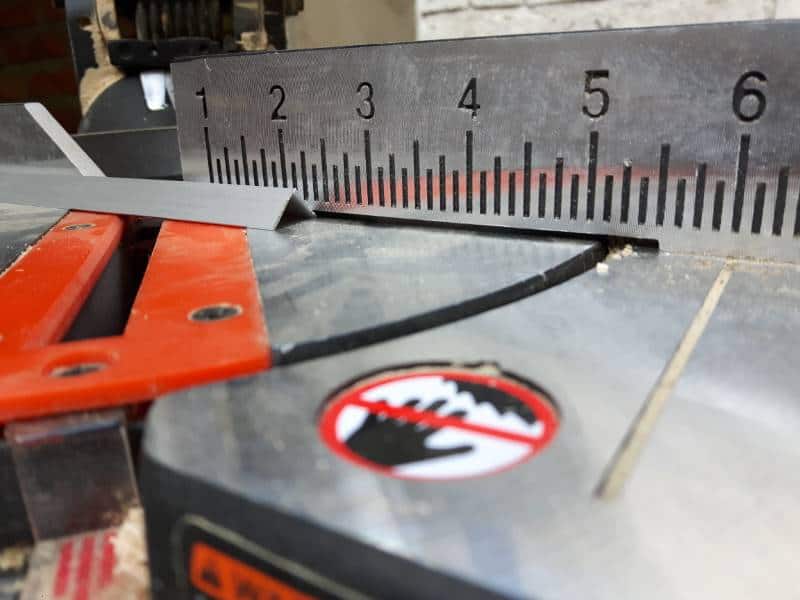
The angles will definitely come out wonky, and if you look closely in that pic you’ll see that the aluminum is sitting in the gap at the bottom of the fence. That means that all your straight cuts will be just slightly off.
If you’re a perfectionist like me, this will annoy you.
However if you’re working on something that’s too big for your saw (like cutting 3″ angle with a little 7-1/4″ blade) and you only need straight cuts, then this can be a good way to get the reach you need to cut it in a single chop.
Alternate Ways of Cutting Aluminum Angle
Obviously, there’s more than one way to skin an aluminum angle cat.
You can use a hack saw. The pro is that you probably already have one. The con is that there’s a reason that people use the term “hack job”.
Just for kicks, here’s an example of the difference between a chop saw and a hack saw on some thin angle:

On something this thin, it was really easy to deform and bend the metal from the pressure of the hack saw. The cut itself was reasonably clean-ish, but not nice enough if you need to join it together with another piece.
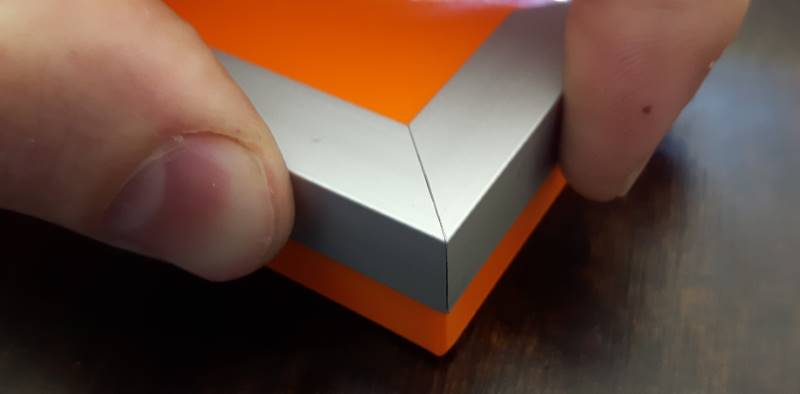
Compare that to the nice clean corner you can get with a miter saw:
Other things like reciprocating saws will only be slightly better than a hack saw. It’ll be pretty ugly when you’re done.
Another option is a band saw with a bimetal blade. They’ll make pretty quick work of aluminum angle, but it’ll be trickier to keep the cut straight for subsequent joining.
Seriously, just use a miter saw.
Drilling Holes
If you need holes in the angle, then make sure your drill bit is actually intended for metal. Most drills for wood are just made from carbon steel, so they don’t work the best.
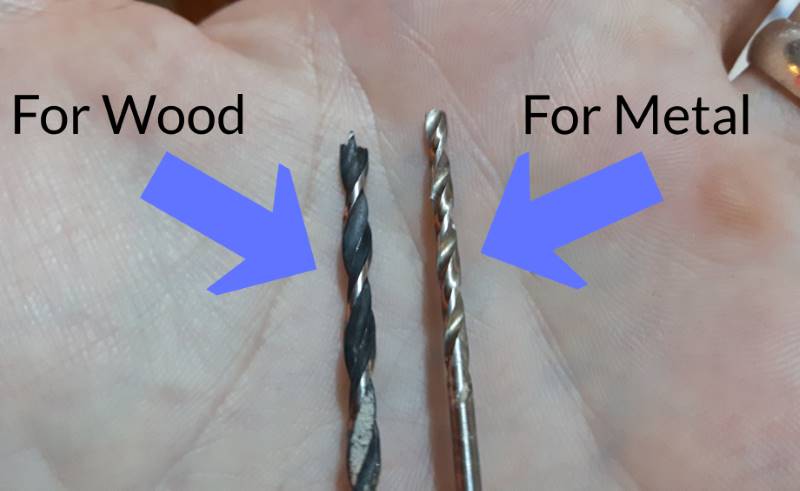
The easiest thing to have in your toolbox is a step drill like this one. It’s the most versatile tool for thin stuff like sheet metal and angle. Split point tips means that the drill won’t wander off position while you’re trying to start the hole.
Safety Notes
Definitely wear safety glasses.
If you’re doing a fair bit of cuts, or if you’re cutting some fairly large and thick pieces, then a face shield is practical.
Use a fine file to clean up burrs and sharp edges. Most of the time, even a bit of sand paper will do the job. It’s really easy to cut yourself otherwise.
Don’t use an aggressive file, it’ll just chew up the aluminum and make it look terrible.
Cut-resistant gloves aren’t a bad idea either. While it’s true that chicks dig scars, the cuts you’ll probably get from this will be only slightly more severe than paper cuts. They won’t impress anyone.
For the record, this process will work on pretty much any size of aluminum angle. You can do the really tiny stuff like what I had in the picture. I’ve also used this method just fine on 4″ aluminum angle that’s 1/4″ thick.
Works like a charm every time.
If you’re trying it out for the first time, do a practice cut or two to make sure that your cuts are straight and it’s coming out nice and clean.
Any questions? Hit me up in the comments below.